Masking with borders
When I made the inside of the last card for Georgina, I stamped the border, masked the center and added snow flakes around the outside. I really liked how it worked out, and decided to explore that idea a bit more. I am trying to get a framed effect like that of the stamps from Justrite Stamper designed to coordinate with various Spellbinder dies. The Kindness cling set is a great example.
Here are two cards that I made to show off the results of my efforts. The design for Just-a-Peek Butterfly was inspired by the Splitcoast Stampers technique challenge "Crop it." The butterflies in the purple border were stamped on white paper using a single mini butterfly stamp (I think from Hero Arts in their Itty Bitty series, but I'm not sure).
I tried my hand at the technique I mentioned in my previous post for making round cards that open in Wishing You Happiness (and Chocolate).
The yellow-green flowers were stamped on white paper using a background stamp from Inkadinkado. My first round card had a flat edge for the hinge. After I made it, I saw the tutorial by Beate for making an Easter card in the shape of an egg. It worked like a charm. Here are my bits and pieces, so you can quickly see the idea:

Having those Spellbinder Nestability dies fit perfectly in one another sure makes it easy to line the bits up! I used Justrite Stampers borders and sentiment (and spelling out the "and chocolate" using their cool alignment system). It took me a dozen tries to stamp the purple border without flaws. In the end, I stamped on top of a piece of craft foam and pressed down on the top of the stamp with the palm of my hand to get a good imprint.
I'm so excited about how well this Border Masking technique is going that I am planning to write a blog-tutorial for it. I took pictures while making the Just-a-Peek Butterfly, so it wont be long.
Thanks for looking.
Here are two cards that I made to show off the results of my efforts. The design for Just-a-Peek Butterfly was inspired by the Splitcoast Stampers technique challenge "Crop it." The butterflies in the purple border were stamped on white paper using a single mini butterfly stamp (I think from Hero Arts in their Itty Bitty series, but I'm not sure).
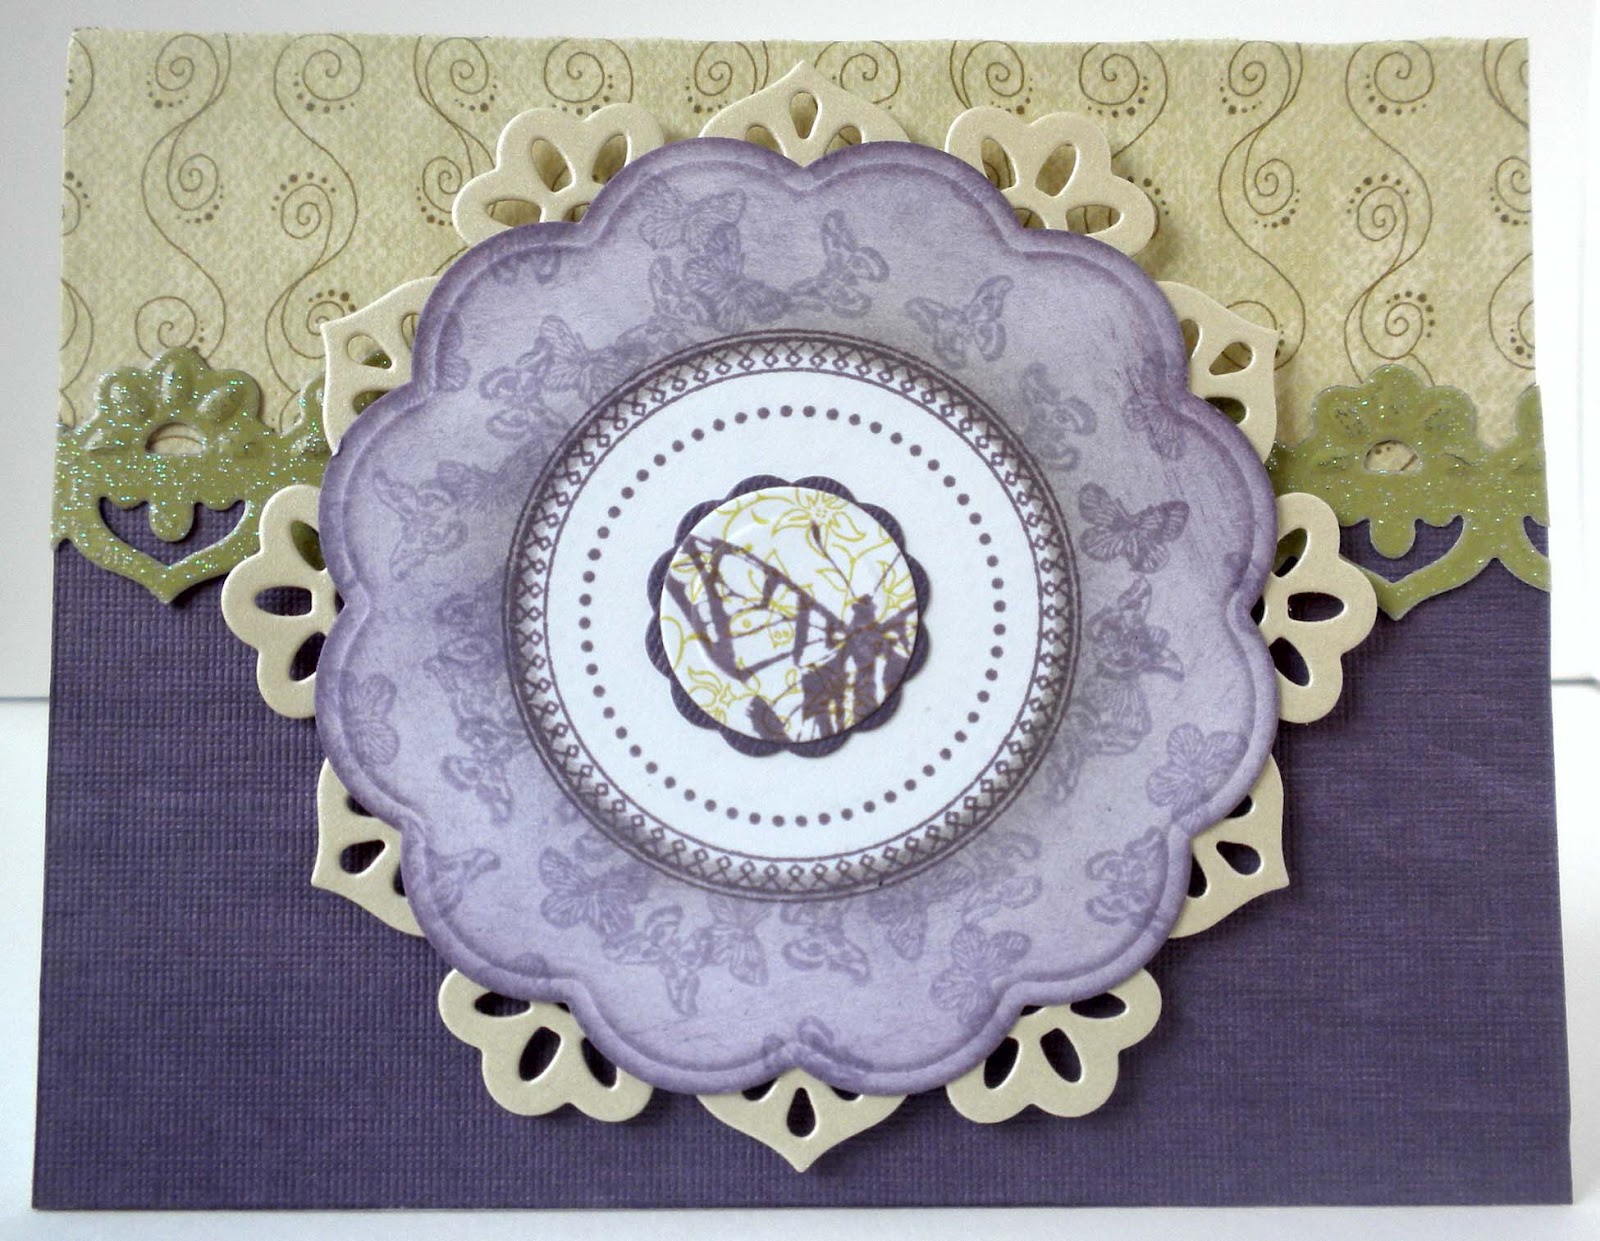 |
| Just-a-Peek Butterfly |
I tried my hand at the technique I mentioned in my previous post for making round cards that open in Wishing You Happiness (and Chocolate).
 |
 |
| Wishing You Happiness (and Chocolate) |

Having those Spellbinder Nestability dies fit perfectly in one another sure makes it easy to line the bits up! I used Justrite Stampers borders and sentiment (and spelling out the "and chocolate" using their cool alignment system). It took me a dozen tries to stamp the purple border without flaws. In the end, I stamped on top of a piece of craft foam and pressed down on the top of the stamp with the palm of my hand to get a good imprint.
I'm so excited about how well this Border Masking technique is going that I am planning to write a blog-tutorial for it. I took pictures while making the Just-a-Peek Butterfly, so it wont be long.
Thanks for looking.
Hi thanks for postting this
ReplyDelete